Phone: +44 (0)20 8492 1600
Need help or have a question?
Contact us at: [email protected]
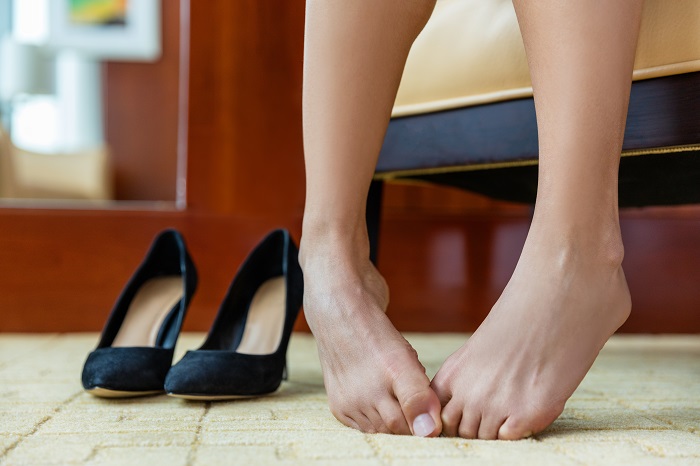
Blisters can turn a good day into a painful one, especially if you walk, run or stand a lot. Moleskin is one of the simplest, most reliable ways to prevent blisters and protect sore spots so they can heal in peace. This guide walks you through 12 practical ways to use moleskin around your feet, with clear, step‑by‑step tips and complementary products that help you stay comfortable for longer.
| Question | Answer |
|---|---|
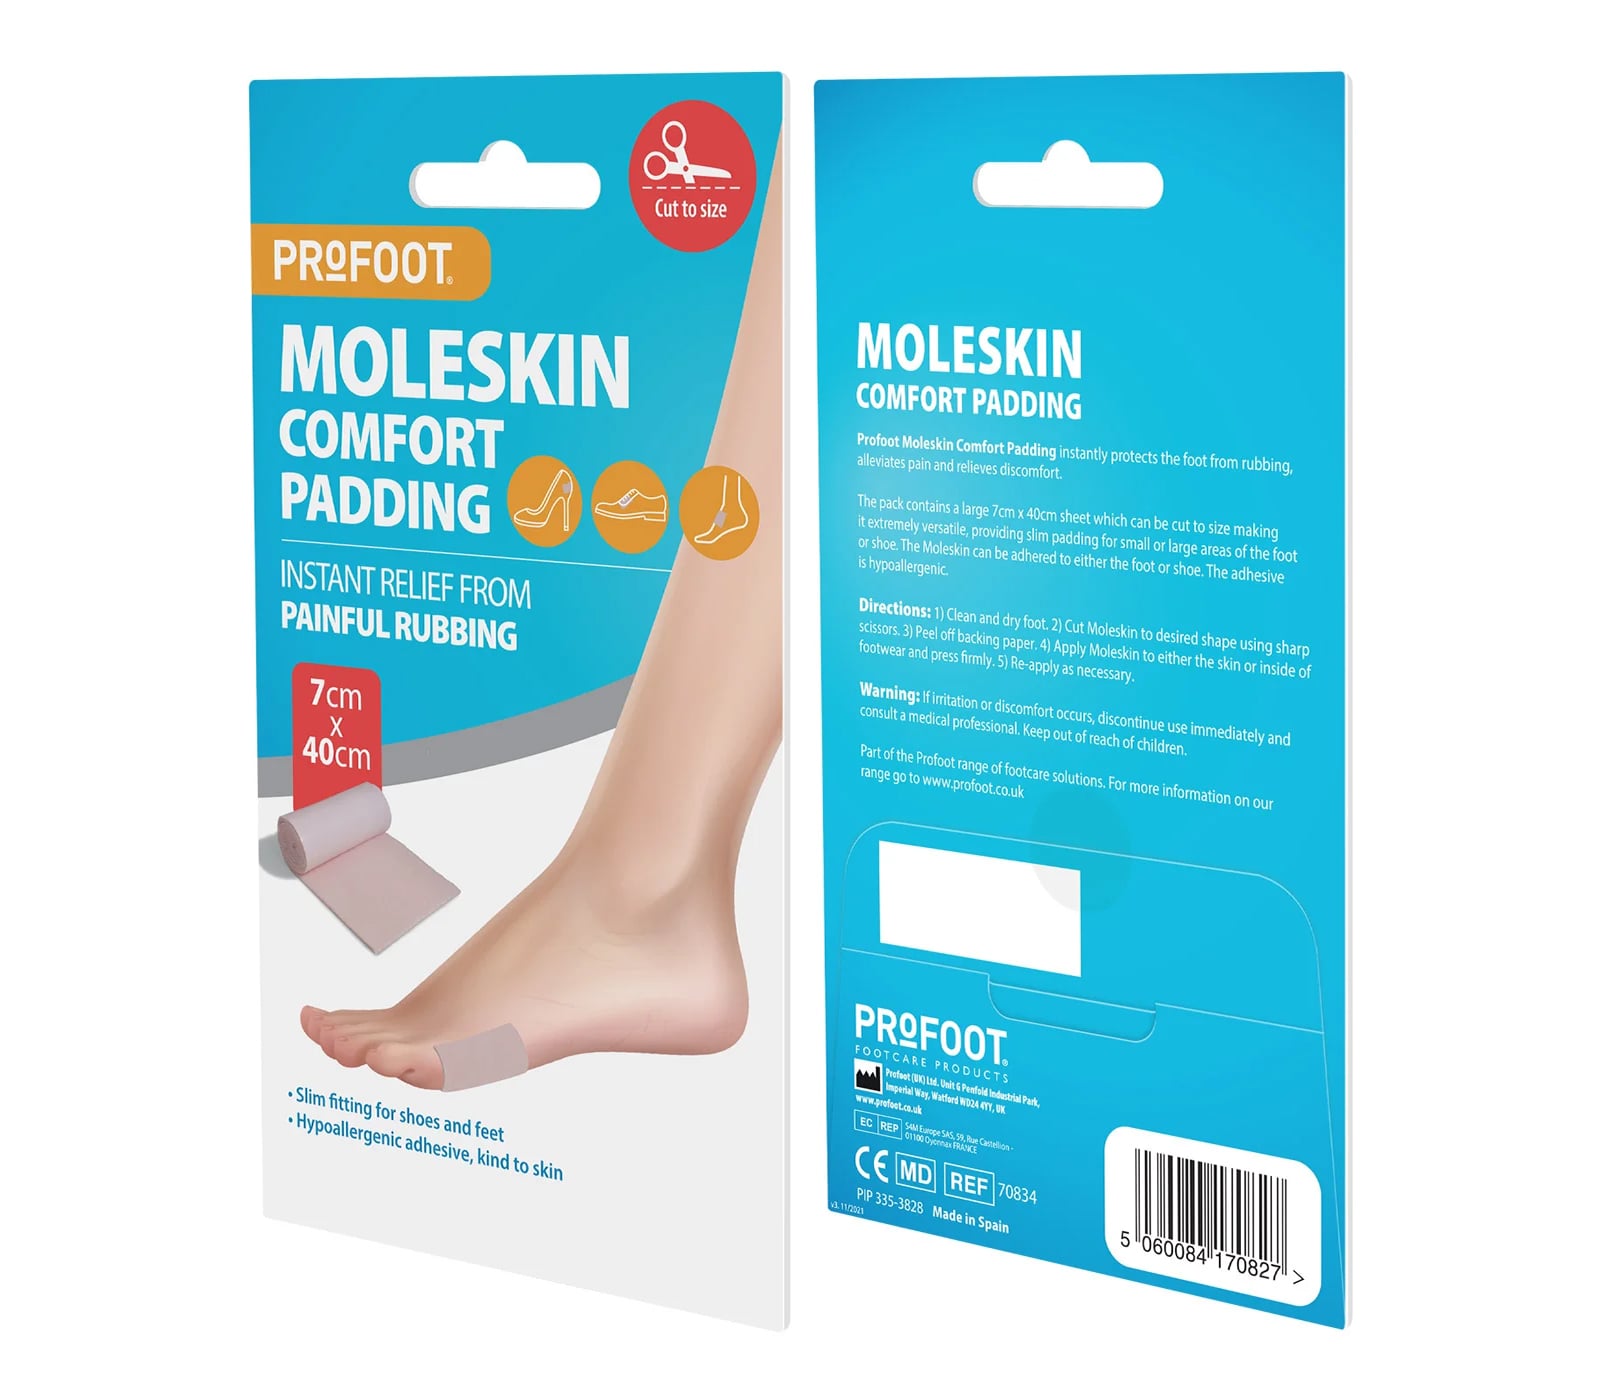
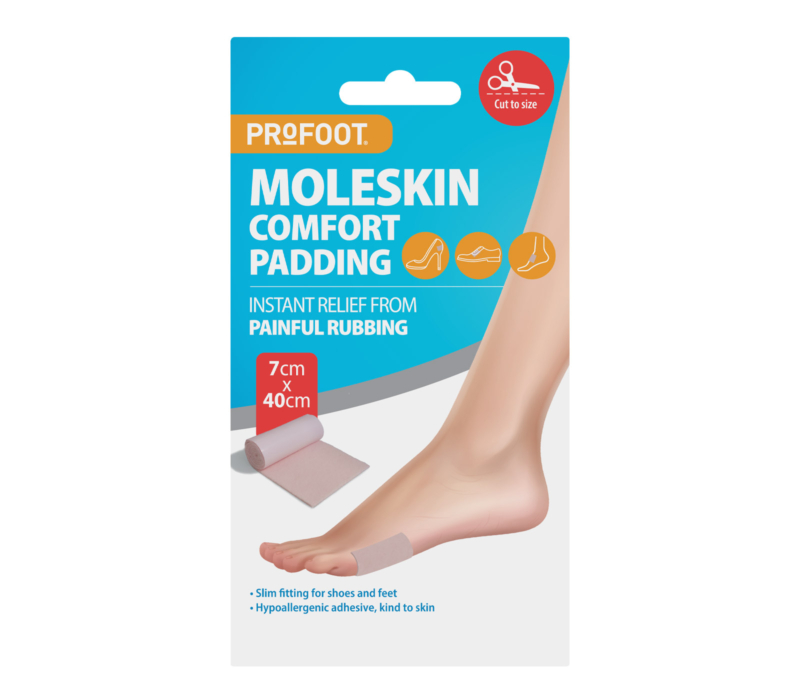
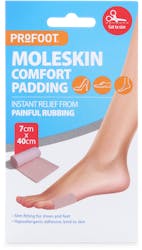
| What is moleskin used for on feet? | Moleskin is a soft, adhesive padding used to reduce friction and pressure, helping to prevent blisters and protect existing ones. The Profoot Moleskin Roll can be cut to any shape to fit heels, toes and other problem areas. |
| Should I put moleskin on before or after a blister appears? | It works best before a blister forms, on “hot spots” that feel sore or rub. You can also use it around an existing blister as a donut‑shaped cushion as explained in this guide. |
| Can moleskin go directly on a blister? | You usually place moleskin around the blister, not directly on top, to offload pressure. For full first‑aid steps and when to seek help, see Profoot’s foot first aid tips. |
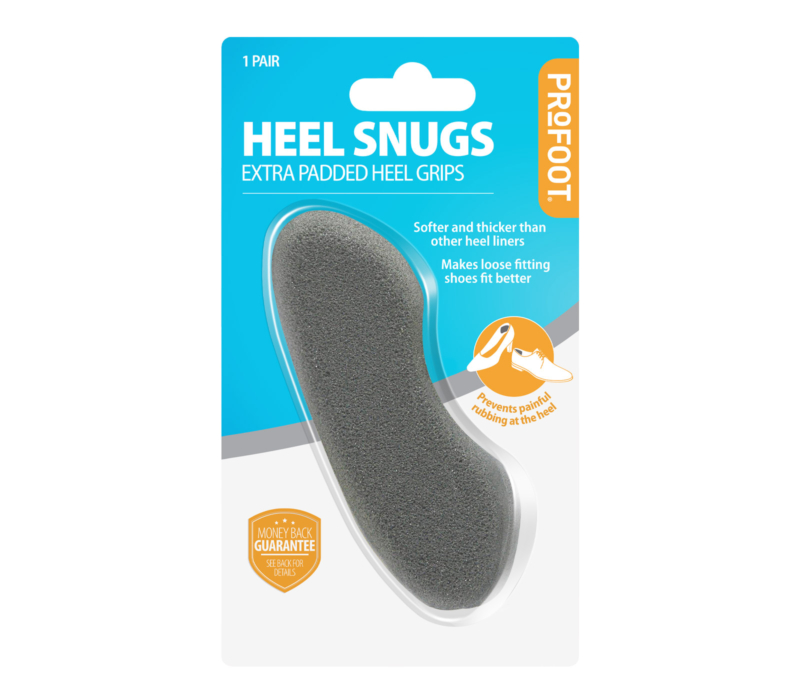
| How do I stop shoe rubbing on my heel? | Line the heel of your shoe or your skin with moleskin before wearing them. If shoes are slightly loose or stiff, padded grips like Heel Snugs can also reduce heel slip and friction. |
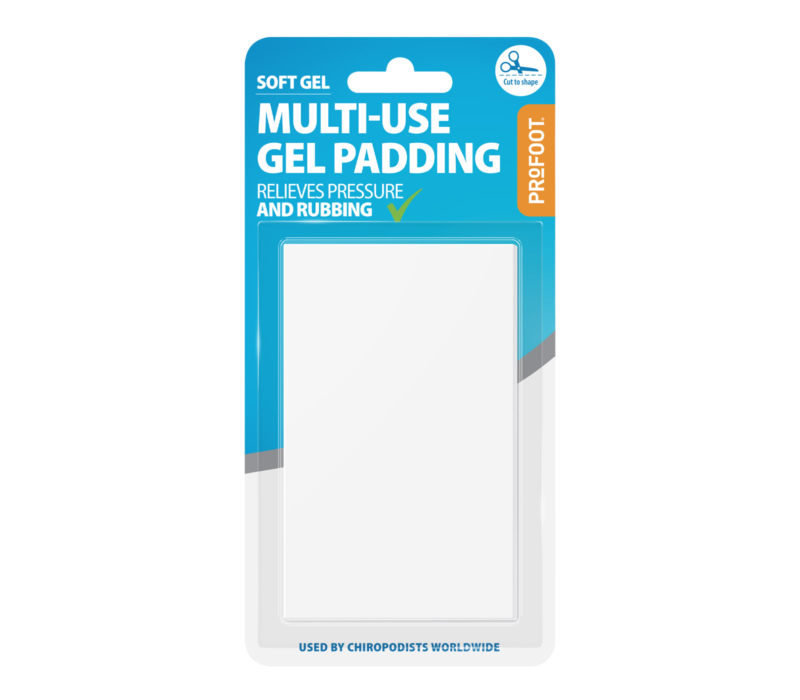
| What else helps alongside moleskin? | Managing moisture, choosing suitable socks, and using targeted padding such as Multi‑Use Gel Padding or Chiropody Felt can all improve blister prevention. |
| Where can I learn more about blisters? | Profoot’s guide to common blister problems explains causes, treatments and when to speak to a healthcare professional. |
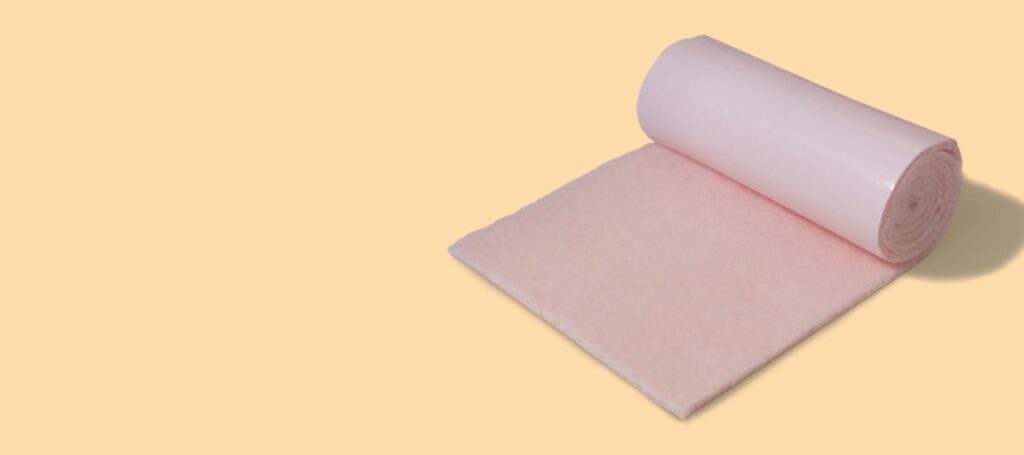
Moleskin is a densely woven, cotton‑based fabric with a soft, suede‑like surface and an adhesive backing. On feet, it creates a smooth, cushioned barrier between your skin and the inside of your footwear, cutting down the friction that leads to blisters.
The Profoot Moleskin Roll is supplied as a generous 7cm x 40cm sheet you can trim to size. It’s thin enough not to crowd your shoes, but padded enough to buffer rubbing and pressure points. The hypoallergenic adhesive is designed to be kind to skin, breathable and durable, so it stays in place even on busy days.
The most effective way to use moleskin is before a blister appears. If you know certain spots always rub on long walks, runs or days in new shoes, cover them in advance. This pre‑emptive layer absorbs friction before it can damage the skin.
Focus on common “hot spots” such as the back of the heel, sides of the big and little toes, the ball of the foot, and the tops of toes where laces press. Apply moleskin to clean, dry skin and smooth it down firmly to avoid wrinkles, which can rub.
One of moleskin’s biggest strengths is how easily you can cut it to shape. This lets you protect awkward areas that standard plasters or pads don’t fit well. Always round the corners as sharp corners tend to peel off faster inside shoes.
Here are simple patterns you can try:
If one layer isn’t enough, you can stack two or three pieces for more cushioning, as long as your shoes still feel comfortable.
For stubborn or very sensitive areas, you can combine moleskin with other protective products. Many footcare professionals recommend surrounding a blister‑prone spot with moleskin and then adding a specialised dressing on top for extra cushioning.
One approach is to frame the area with moleskin, creating a smoother surface for a blister plaster or gel pad to stick to. This reduces the risk of the dressing lifting at the edges and concentrates pressure relief where it’s needed most.
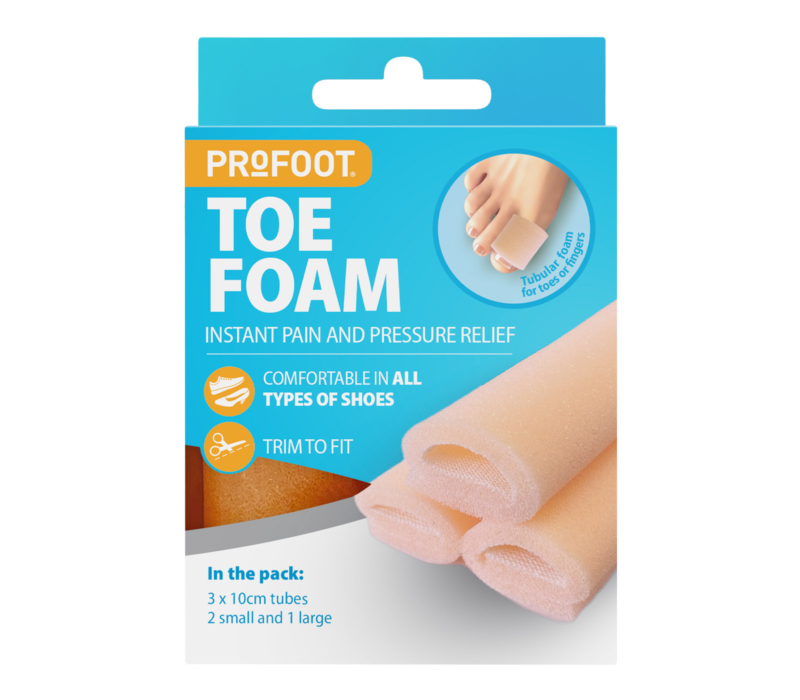
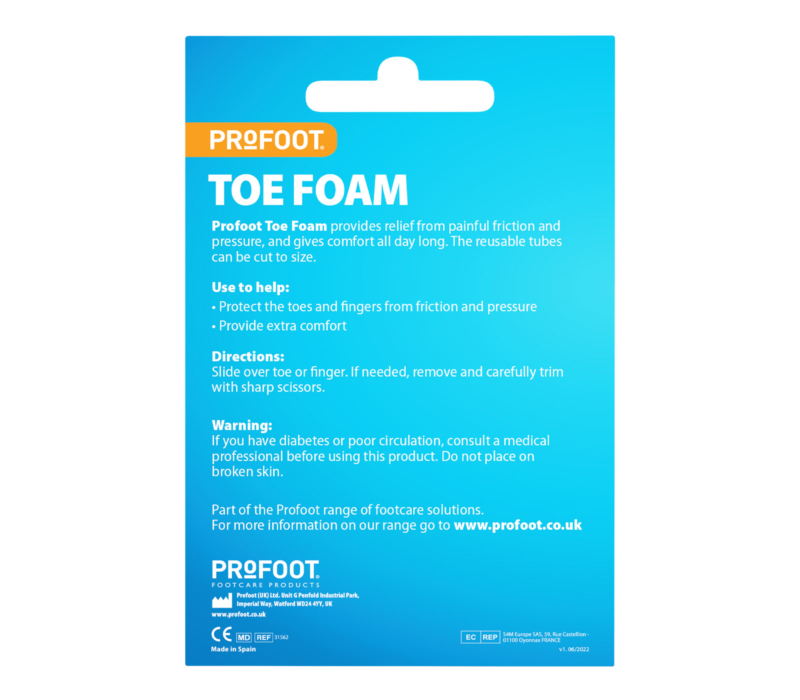
If you need more softness than moleskin alone, a flexible option like Profoot SoftGel Multi‑Use Gel Padding can help. You can trim this gel sheet to shape and place it either on your skin or inside the shoe to reduce pressure and friction that cause blisters.
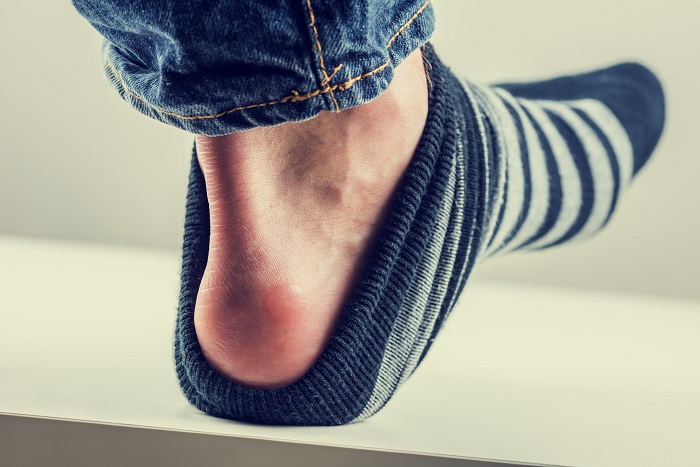
New shoes are a classic cause of blisters because the materials are still stiff and the fit hasn’t moulded to your foot shape. Instead of waiting for sore spots to appear, you can use moleskin on day one of wearing new footwear.
Cover the parts of your feet that usually complain first: the back of the heel, the little toe area and the top of the toes where shoes bend. For high heels, pay extra attention to the back of the heel and under the forefoot where pressure builds.
If new shoes slip at the heel, that movement quickly leads to rubbing. Padded heel grips such as Profoot Heel Snugs are designed to sit at the back of the shoe, reduce movement and cut down friction in that area.
If a blister has already formed, moleskin can still make a big difference by keeping pressure away from the sore, raised area. Instead of covering the blister directly, you create a raised “donut” of padding around it so your shoe presses on the moleskin, not the blister.
Follow these steps:
If you see signs of infection (increasing redness, heat, pus or severe pain), or if you have diabetes or poor circulation, speak to a healthcare professional before treating blisters yourself.
For long walks, hikes or endurance events, blister prevention needs a bit of planning. Moleskin is a staple in many walkers’ and hikers’ kits because it’s light, packable and easy to use on the go.
Before you set off, apply moleskin to any areas you already know are vulnerable. During the day, pay attention to “hot spots” — areas that start to feel warm, sore or irritated. Stop as soon as you notice them, dry your feet and apply moleskin before a full blister forms.
Most experienced hikers carry a small kit including moleskin, scissors, cleansing wipes and a small towel for drying feet. Adding a more cushioned option like Profoot’s SoftGel Multi‑Use Gel Padding or Chiropody Felt can help you adapt to different kinds of pressure points over multi‑day trips.


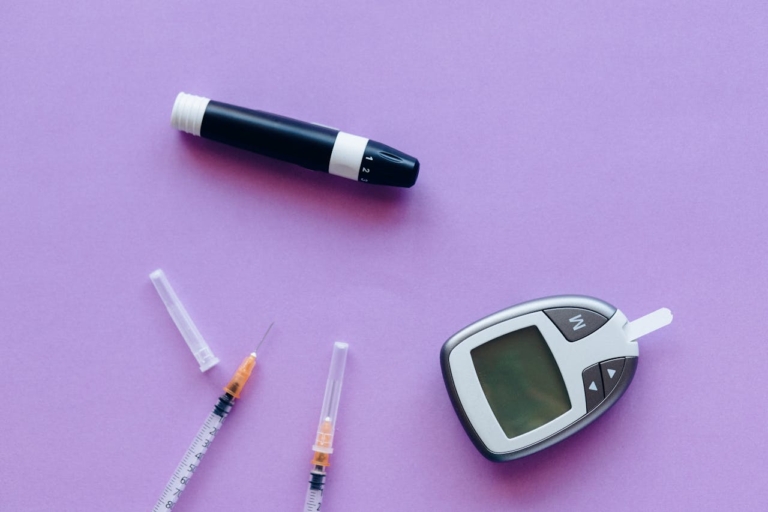
Moist skin is much more likely to blister because it softens and shears more easily under friction. While moleskin itself is breathable, it works best as part of a wider moisture‑control routine.
Try to keep your feet as dry as possible by:
You can also place moleskin between your foot and areas of the shoe that are prone to getting damp, such as near breathable mesh that lets in rain or puddle splashes. This extra barrier reduces the friction that wet materials can cause against the skin.

Blisters, calluses and corns all have something in common: they’re often caused by repeated friction and pressure in the same spots. Regular use of moleskin on problem areas can reduce the constant rubbing that leads to these thicker patches of skin.
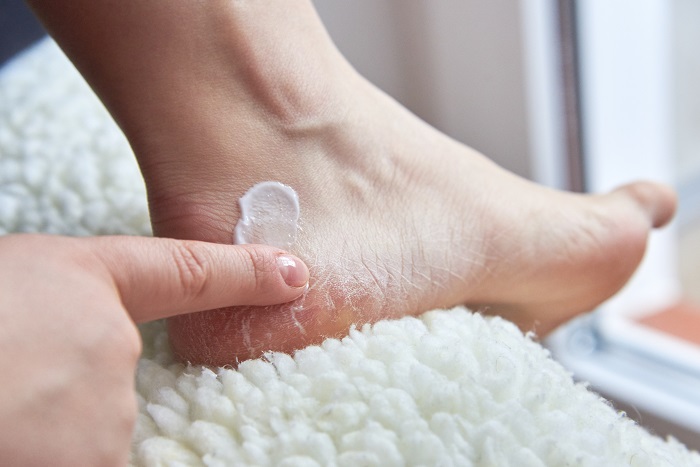
For areas already prone to hard skin, combine friction‑reduction with gentle maintenance. Cushion the area with moleskin during the day, and follow a simple routine at home to keep skin smooth and comfortable.
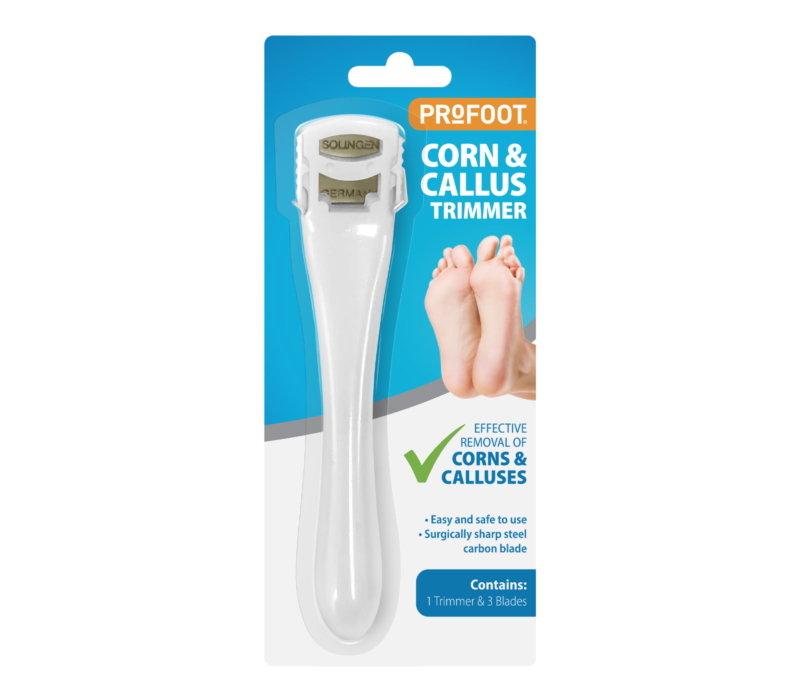
If you already have calluses or corns, a product such as the Profoot Corn & Callus Trimmer can help remove hard skin safely when used as directed, while padding like moleskin or Chiropody Felt helps prevent the same problem returning in the exact spot.
Taking moleskin off carefully matters just as much as putting it on well. If you peel it quickly, you risk irritating already tender skin or pulling at the edges of a healing blister.
Use these steps:
Always check for any signs of irritation, redness that spreads, unusual pain or discharge. If you’re worried or have underlying conditions such as diabetes or poor circulation, ask a medical professional for advice.
There are many ways to reduce blister risk, from taping and simple plasters to gels and foams. Moleskin stands out because it combines a low profile with dependable cushioning and can be cut into almost any shape you need.
Here’s how moleskin compares with some other common approaches:
| Method | Main Benefit | Limitations |
|---|---|---|
| Moleskin | Custom‑cut, thin yet cushioned; good for prevention and protection | Less soft than gels for very tender areas |
| Standard plasters | Quick and widely available | Limited cushioning, often peel in shoes |
| Elastic tape | Secure hold over large areas | Can be harsh on skin and tricky to remove |
| Gel pads | Very soft cushioning, good for pressure points | Usually thicker; not ideal where shoe space is tight |
| Foam padding | Light, absorbs shock | Can compress quickly and move inside shoes |
For runners in particular, combining good moisture management, well‑fitted footwear, appropriate socks and early use of moleskin on hot spots can dramatically cut down blister problems over time.
Keeping a small, ready‑to‑go foot‑care kit means you can deal with rubbing or blisters as soon as they start, rather than pushing on and letting them worsen. A moleskin roll is a useful foundation because it adapts to many different situations.
Consider including:
This kit is easy to keep in a gym bag, walking pack or travel case, so you always have the tools you need to stay comfortable on your feet.
Moleskin is a simple but very effective tool for both preventing blisters and protecting them once they appear. By applying it early to hot spots, shaping it carefully for tricky areas, combining it with other pads when needed and removing it gently, you can keep friction and pressure under control day after day.
Used alongside good socks, well‑fitted shoes and basic skin care, moleskin helps you stay active with far less foot pain. Listen to early warning signs from your feet, deal with rubbing straight away and keep a small supply of moleskin and padding products close by so you’re always ready to protect your skin before it breaks down.